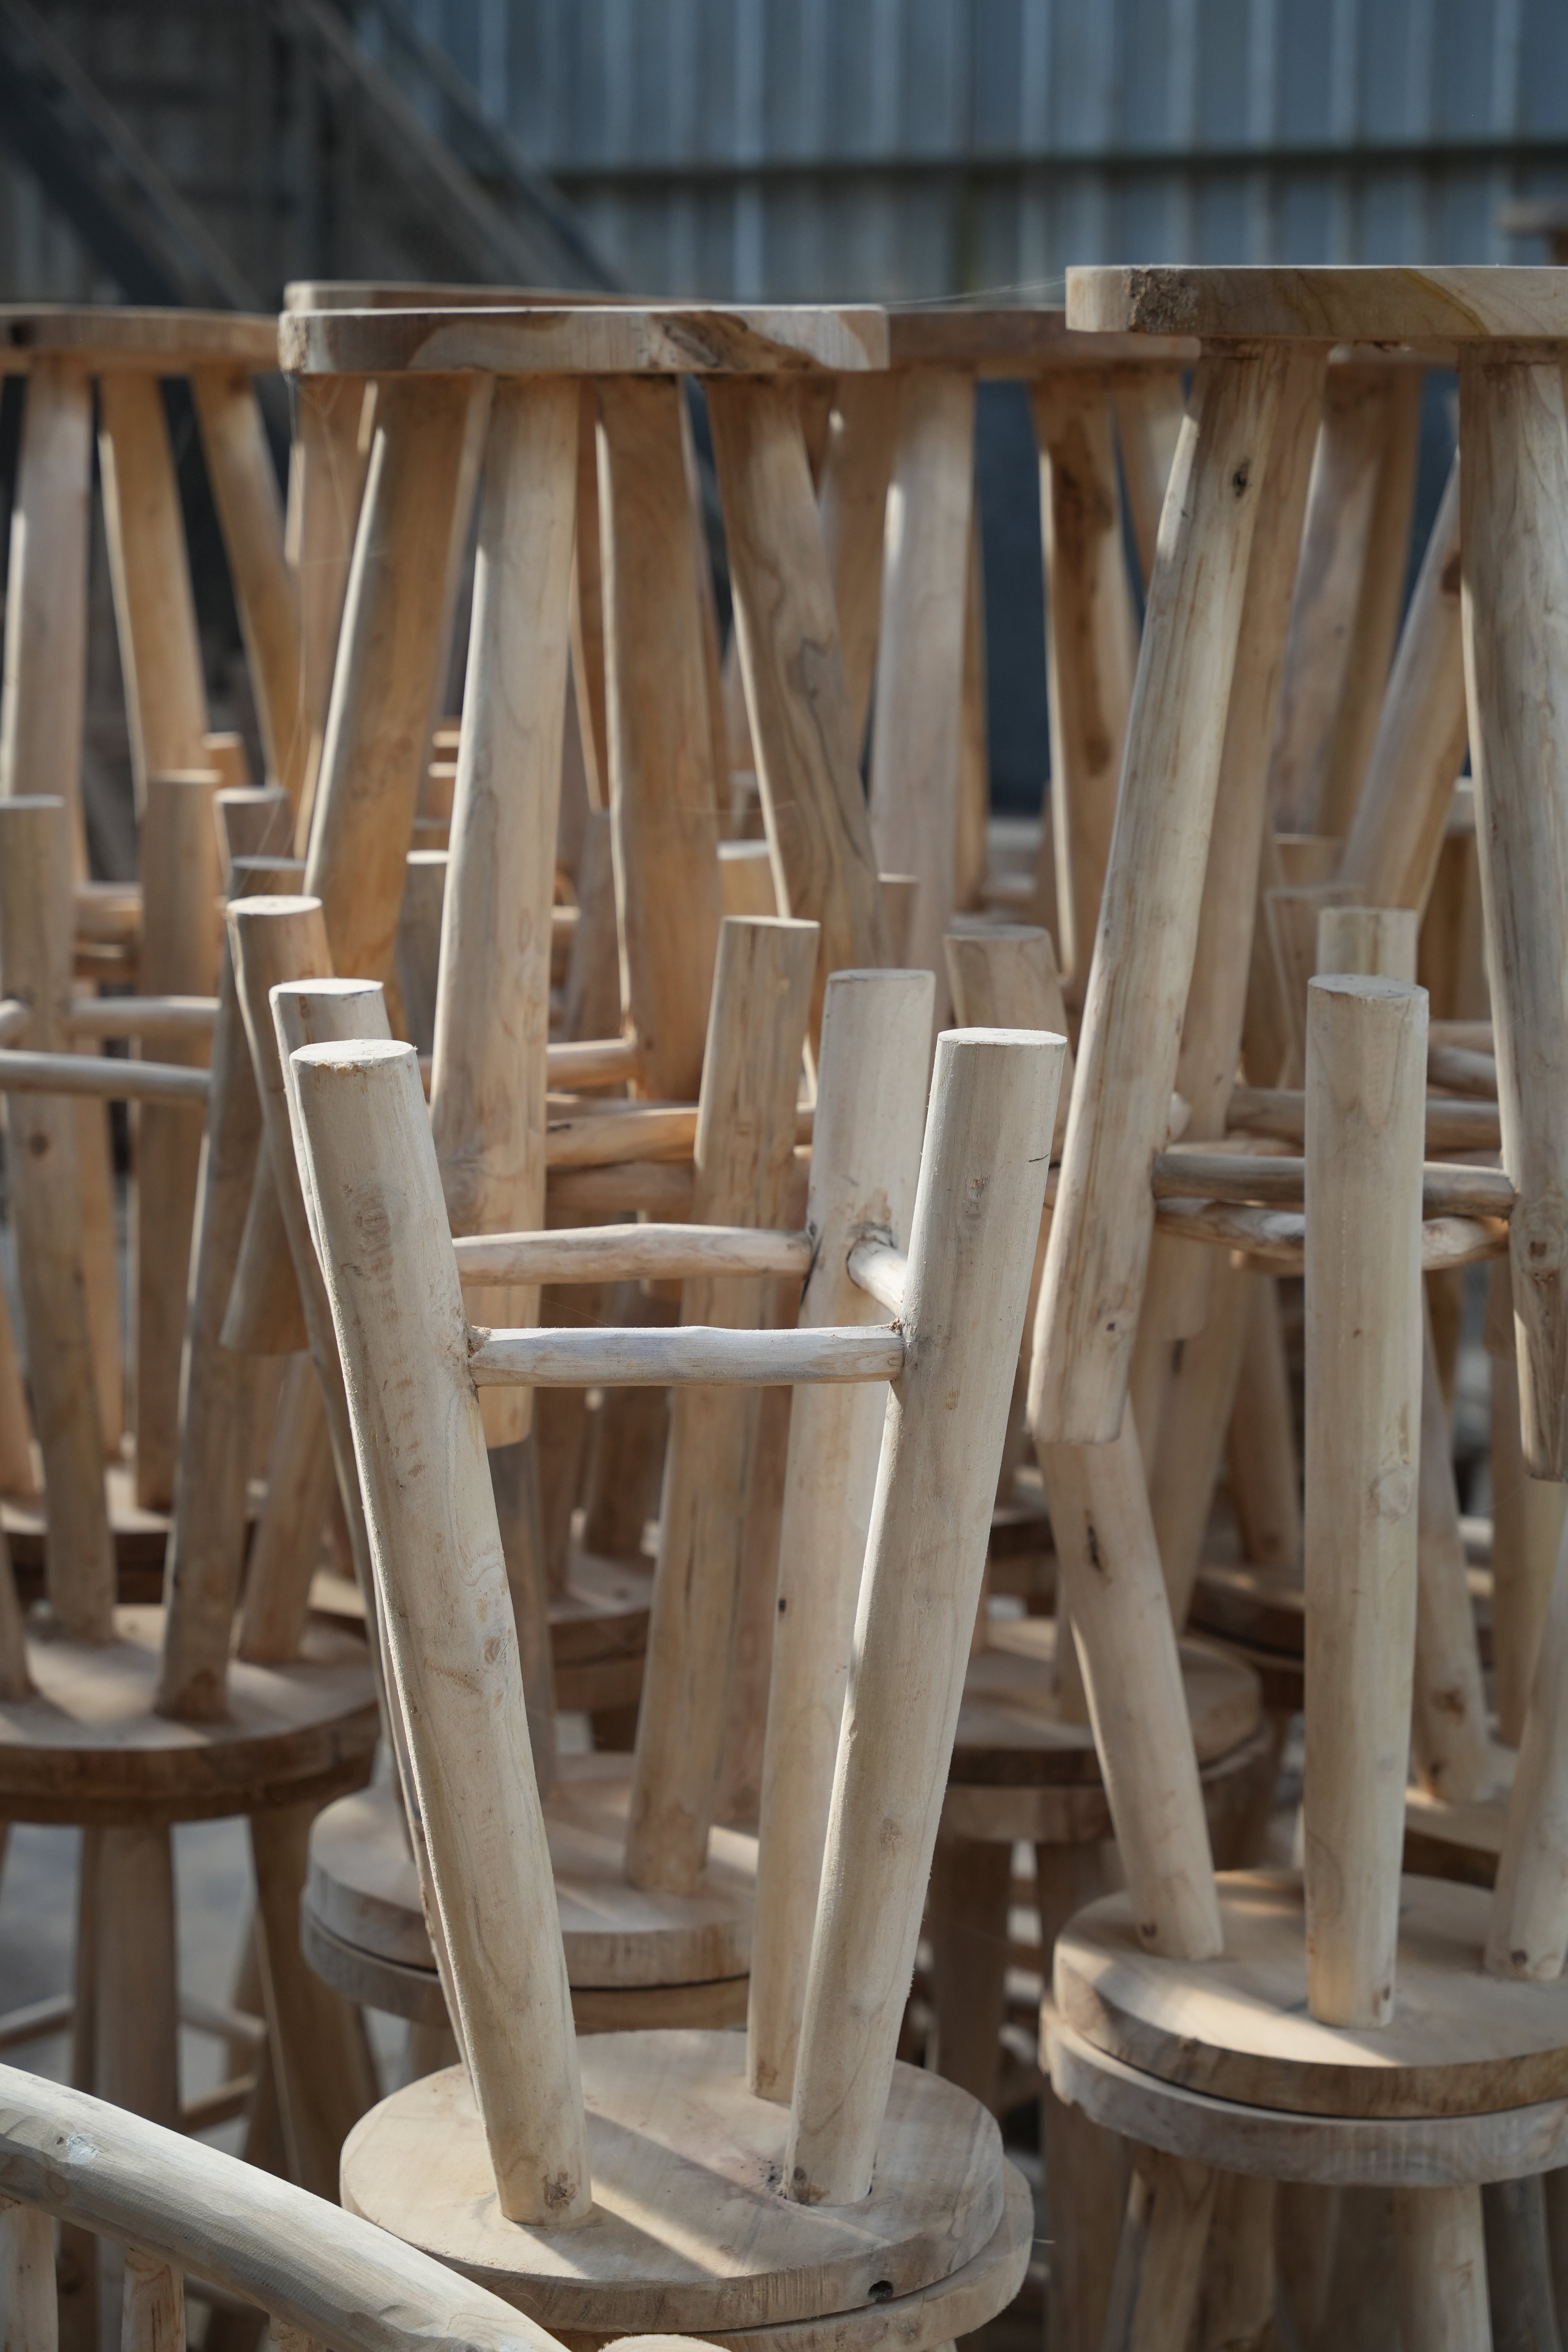
Guide To Oil
⸻⸻⸻⸻⸻⸻⸻⸻⸻⸻⸻
Explore our step-by-step guide to oiling outdoor furniture and learn how to bring out the natural beauty of wood.


Oiling Guide
Untreated wood left outside will naturally patinate over time to become silver-grey in colour. To preserve or intensify the original golden-brown colour, the wood can be regularly treated with oil.
The oil is designed to protect the wood. It brings out the grain's natural beauty and leaves it well-nourished and resistant to water, dirt and grease. You will get the best results if you oil the furniture before it starts to patinate.
Note: It is important not to use the same oil on your indoor furniture due to strong algae removal properties in outdoor oil products.
Step 1
Clean the surface thoroughly before starting the oil treatment. Make sure to let the wood dry for at least 24 hours after cleaning. Sand down any rough fibres in the wood with sandpaper before applying the oil.
Step 2
Avoid direct sunlight and high temperatures while oiling. It should be no colder than 13°C.
Step 3
Stir the oil before and while using it.
Step 4
Apply an even layer of oil with a brush or a lint-free cotton cloth. Remember to start from the bottom and work upwards to avoid streaks.
Step 5
Wipe off any excess oil with clean cotton cloths after no more than 20 minutes. Dispose of oily cloths responsibly, as they can be a fire hazard. If the surface does not appear saturated with oil, repeat steps 4 and 5 as often as necessary.
Step 6
It normally takes 48 hours for the oil to harden. The wood should not be exposed to water in this period. We recommend repeating this process 1-2 times a year. Remember to always clean the surface before starting.
